
How to setup recurring Roster Templates
Roster Templates let you define a repeating schedule of rostered staff and apply it to the diary for a future period. This article covers creating and managing roster template sets in the Roster Template Manager.
Access the Roster Template Manager
- Navigate to Admin > Diary & Booking > Roster Template Manager.
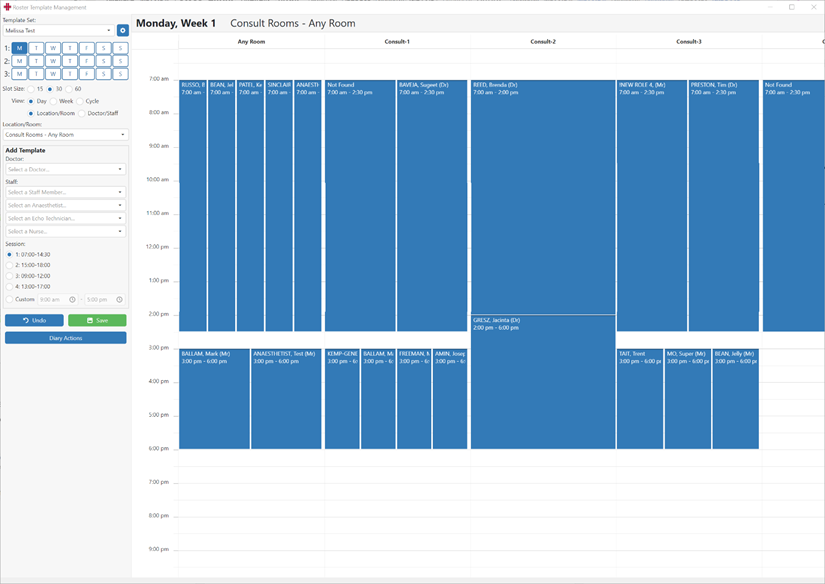
- Existing template sets are available from the drop-down list. The selected template opens in edit mode automatically.
Create a roster template set
Keep the number of template sets as low as possible. Multiple overlapping sets are difficult to manage.
Before creating a template set, decide on a name and cycle length (e.g. 7 days for a weekly cycle).
- Navigate to Admin > Diary & Bookings > Roster Template Manager.
- Click the cog icon at the top of the left column.
-
Click + New in the Manage Template Sets editor.
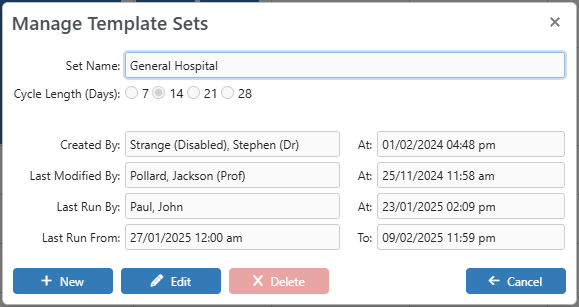
- Enter a Template Set Name.
- Set the Cycle Length (e.g. 7 for weekly).
- Click Save. A blank template opens, ready to configure.
Configure the template
- Use the column on the left to set the template field such as Doctor Name etc.
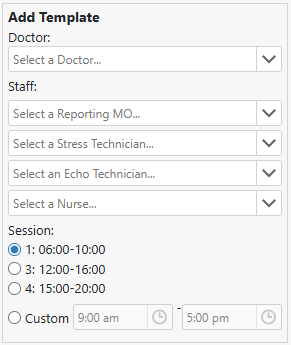
- Then click into a time slot on the template grid to insert a roster entry. Repeat for all required slots.
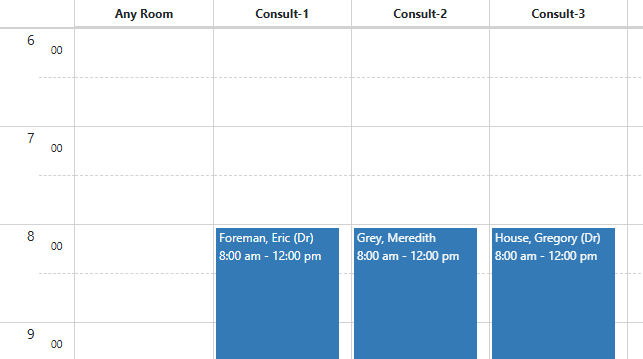
- Once all roster entries are complete, click Save to finalise the template.
Apply the roster template to the diary
- Use Diary Actions to push the roster template to the diary for a specific date range.
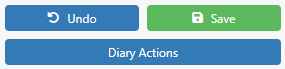
- Multiple actions can be completed via the Diary Actions button.
| Action | What it does |
|---|---|
| Apply Template | Applies the template for the selected period. This first removes any existing roster entries for this template set in that date range, then re-inserts them from the current template. |
| Delete | Removes applied templates for this template set in the selected date range only. |
| Power Delete | Removes all roster templates in the diary for the selected period, regardless of template set. |
Power Delete removes all roster templates for the selected period, not just those from this template set. This cannot be undone. Verify the date range before proceeding.
- Select Apply Template.
- Set the From Date and To Date.
- Click Apply. A confirmation message displays when the roster template has been applied.
- The applied roster is visible in the diary at the top of the relevant location and rooms.
Roster entries are not created on public holidays unless the apply is set to include them.
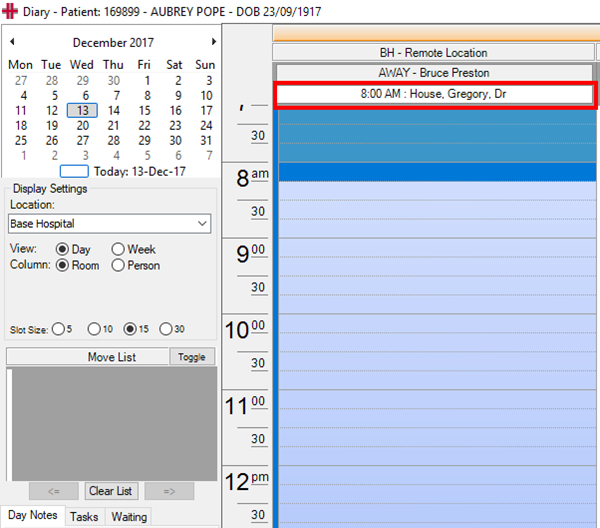
Applying a template set replaces every roster entry for that set within the selected date range. Any manual changes made to those rosters in the diary, are removed and rebuilt. Re-apply over a date range only when you are ready to discard manual changes in that range.
Keep roster coverage up to date
Applying a template set does not roster the diary indefinitely. Coverage runs only to the To Date you set when you applied it, and it does not extend automatically.
Beyond the last applied To Date:
- The diary shows no rostered coverage for that set.
- Utilisation counts show zero rostered staff for those days.
- Doctors and staff are no longer auto-assigned to new bookings and clinical records from this roster.
There is no warning when coverage runs out, so re-apply the template set periodically to keep the diary rostered ahead of time. When you re-apply, extend the To Date far enough into the future to cover the period you need.
Troubleshooting: If a shift you defined in the template does not appear in the diary after applying, it may not have aligned with the recurring pattern for the date range you chose.
Edit a roster template
- Open the Roster Template Manager and select the template set from the drop-down list on the left. The template opens in edit mode automatically.
- Apply any changes, then click Save.
- Re-apply the updated template via Diary Actions.
- Select Apply Templates and Apply to push the changes to the diary.
Applying an updated template set to a date range replaces the existing roster entries for that set in that period. Existing bookings are not affected.