How to Use Scribe Dictation
HealthTrack Scribe can be accessed from the HealthTrack desktop application.
- Select HealthTrack Online from the top of the screen.
- A HealthTrack Online window will open with the current patient selected.
A different patient can be selected by clicking the Search for Patient... box in the top left of the window. You can also view a list of patients booked in with you today via the + icon or from the Today's Bookings pane in the Home screen.
You can also use the keyboard shortcut Ctrl + F to search for a patient.
Creating a Letter
- There are two ways to dictate a letter:
- Click the microphone icon at the top right and select Dictation.
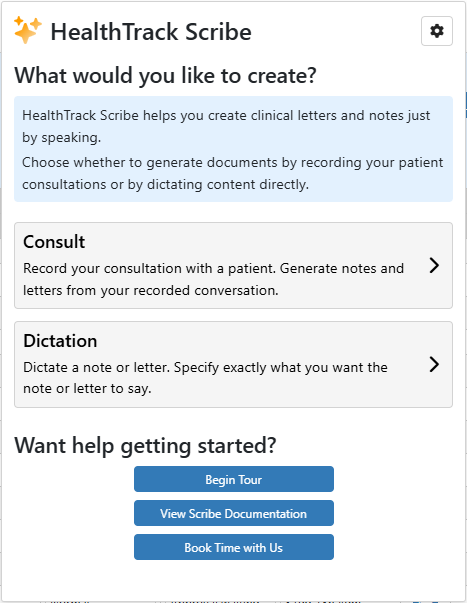
- Click the [New] button at the top left and select Letter.
- From the Create Document Details dialog box, type to search for an existing template, select one from the displayed list, or choose Create New Letter if a template is not required.
- The Create New Letter option will allow you to dictate into a blank document.
- Click the [Select] button.

- On the Configure Letter page, make any relevant selections for the booking, referral, or recipients.
- Select the [Create] button.

Dictating the Letter Content
After creating the letter, you can begin dictating the contents.
- Click in the letter to place your cursor where you want the dictated text to appear.
- Select the microphone icon on the toolbar to start dictation.
- While dictating, the microphone icon will appear red and a box will be displayed at the bottom of the letter to show the live transcription.
For guidelines on how to get the best results from Scribe dictation, as well an outline of formatting and punctuation commands, please review our Dictation Cheat Sheet article.
- Click the microphone icon to pause or stop your dictation.
Editing and Saving the Letter
- Use the toolbar at the top to format and edit the letter as needed.
The AutoCorrect Management tool can be used to define custom word replacements, specifying which terms should be substituted and what they should be replaced with. Simply right-click and select 'Go to Scribe AutoCorrect Management' to add/modify any words and their replacements.
- The AutoCorrect Formatting and Grammar tool can be used to fix grammar and punctuation.
- Highlight text and select the 'magic wand' icon.
- Letter templates can be configured with custom HealthTrack tags that automatically insert medication and problem lists from most recent letters.
- This information can also be manually entered by right-clicking in the letter and selecting 'Insert Previous Rx' or 'Insert Previous Dx'.
- You can use the [Show Previous Letters] button to review past correspondence and manually copy information to the current letter.
- Click [Save] at the bottom when finished.
Classifying the Letter
- Select the Classify button at the top right of the tool bar to access the record information screen.

Managing Recipients and Status
- Select 'Distribution' to view or add recipients.
- Change the status of the record when ready for distribution.
- Select [Save].