How to Use Scribe Consult
HealthTrack Scribe can be accessed from the HealthTrack desktop application.
- Select HealthTrack Online from the top of the screen.
- A HealthTrack Online window will open with the current patient selected.
A different patient can be selected by clicking the Search for Patient... box in the top left of the window. You can also view a list of patients booked in with you today via the + icon or from the Today's Bookings pane in the Home screen.
You can also use the keyboard shortcut Ctrl + F to search for a patient.
Creating a Consult
There are two ways to create a consult:
- Begin a new consult:
- Click the New button at the top left and select Scribe Consult.
- Click the microphone icon at the top right and select Consult.
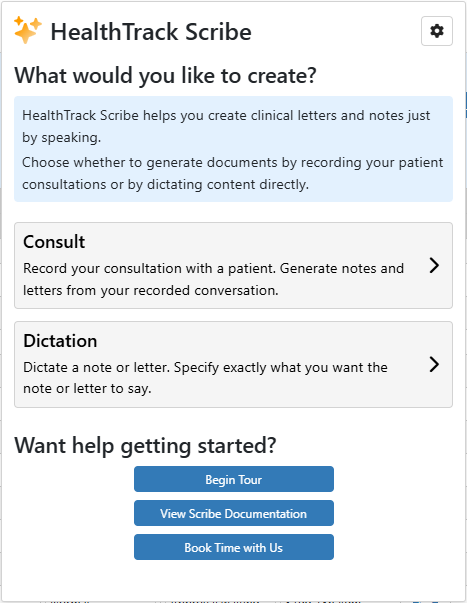
- From the HealthTrack Scribe dialog box, choose Consult.
- Select the type of consultation you will be recording (i.e. Initial Consult or Follow up Consultation).
The default structure for Scribe Consult is a SOAP Note, which can be configured by contacting HealthTrack Support. SOAP stands for Subjective, Objective, Assessment, Plan and is a common structure in healthcare.
- Specify the booking details.
- Confirm that the patient has provided consent to record this consultation.
- Select the Start Listening button.
- After selecting the Start Listening button, the recording stays active while you navigate HealthTrack.
- You can click on the microphone icon to pause and resume recording as needed.
- When the consultation is complete, select the Pause Listening button, and then select Complete.
The recorded consult will be processed and displayed on screen, opening to the Consultation Note view. The Consultation Note can be edited where necessary; the details included will be used for any letters generated.
Generating and Editing Outputs (letters and notes)
- Select the Generate button to create the documents associated with this Consult Type.
- Alternatively, use the [+ Add Document] button to choose a different document to generate.
The pre-defined documents for each Consult Type can be configured. For further information, review our How to configure Scribe Consult article or contact HealthTrack Support.
- After generating the relevant letter/s, the contents can be reviewed and edited if necessary. The AutoCorrect formatting grammar tool can be applied to highlighted text to correct punctuation and grammar. The tool looks like a magic wand in the tool bar at the top left of the letter.
Letter templates can be configured with custom HealthTrack tags that automatically insert medication and problem lists from most recent letters. This information can also be manually entered by right-clicking in the letter and selecting 'Insert Previous Rx' or 'Insert Previous Dx'.
- Select the Save button.
- After saving the Scribe Consult record, individual letters will be listed on the document tree.
Regenerate a letter:
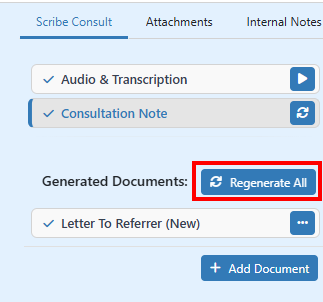
- If changes are made to the Consultation Note after generating the letters, the [Regenerate All] button can be used to create new letters. This will replace the existing letter and any changes that were made to it.
- You can alternatively click the [...] button against a specific letter, then choose the Regenerate option to create a new version of this letter only.
Classify & Record Info
From Scribe Consult:
- Select the button for the letter
- Select the [Classify] button
- Make any necessary changes, such as checking the recipients via the [Distribution List] button or changing the Status of the record.
- Select the Save button.
From the Document Tree:
- Select the relevant letter.
- Choose the Classify button in the top right.
- Make any necessary changes, such as checking the recipients via the [Distribution List] button or changing the Status of the record.
- Select the Save button.